Physical Computation Lab 2: Batman
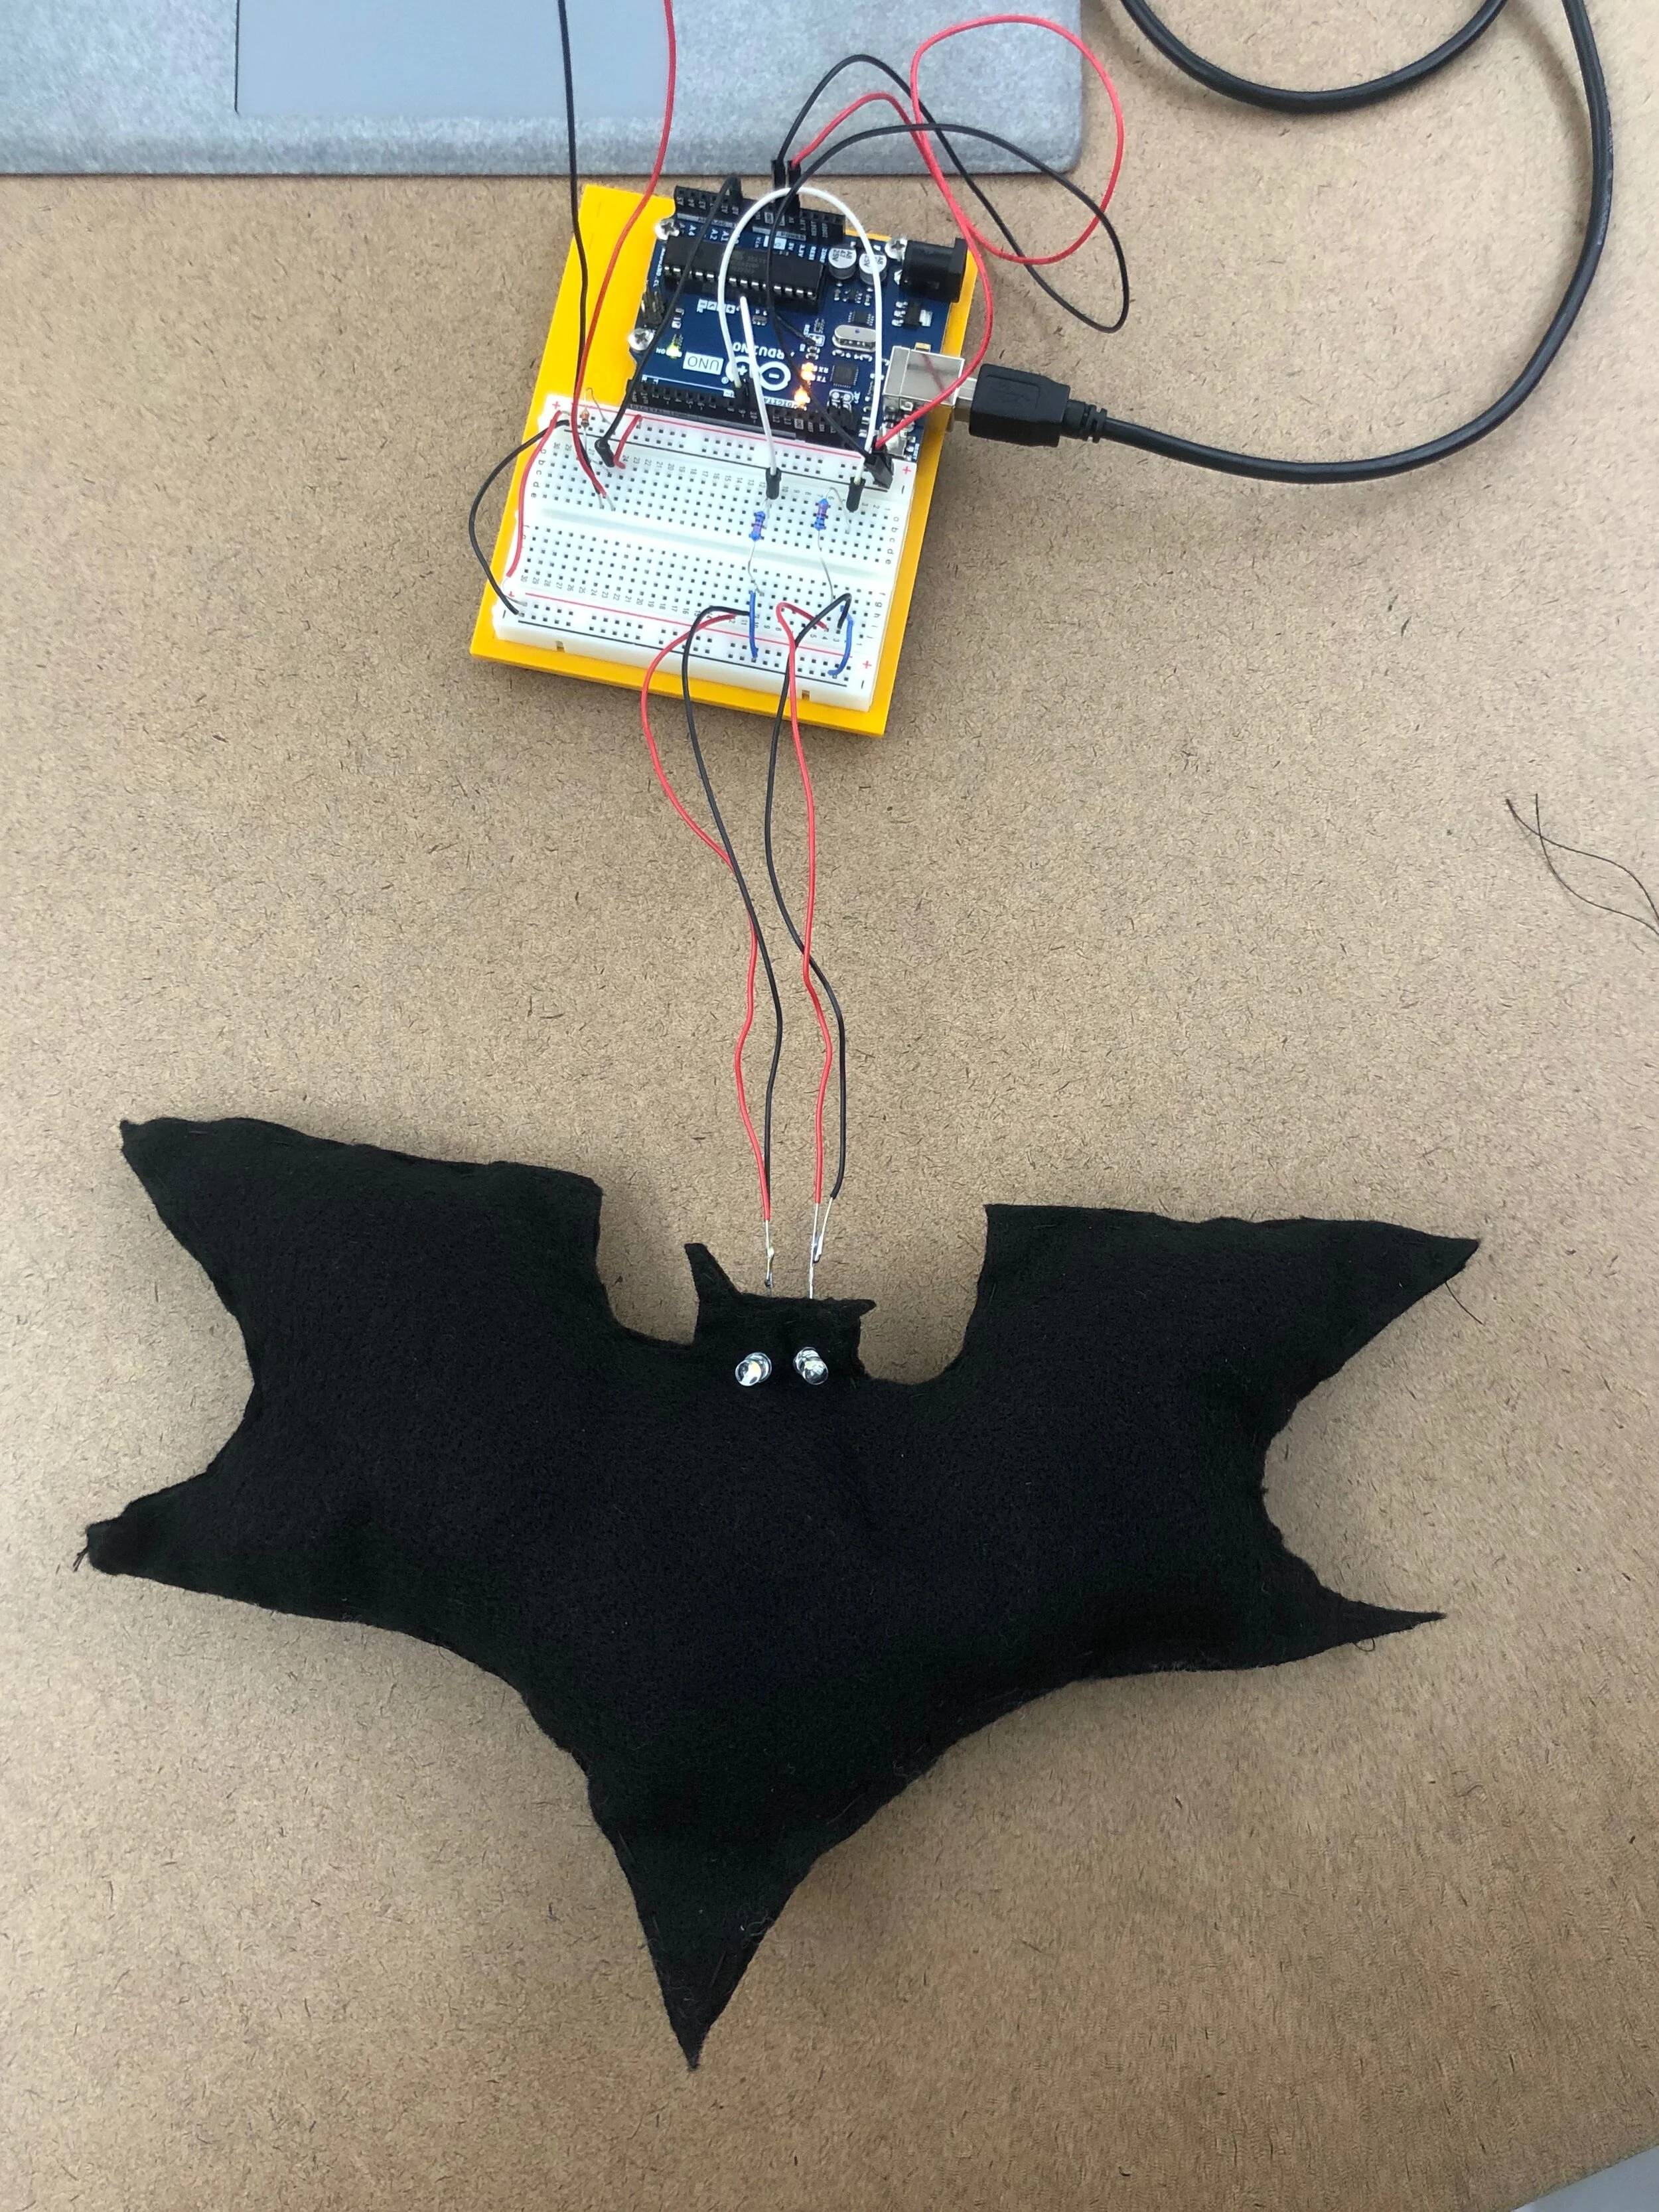
For my lab 2, I decided to use a force sensing resistor to light up 2 LEDs. I planned on using batman’s eyes as the two LEDs that would light up a little one after the other on pressing the force-sensing resistor hard.
I first created a basic circuit on a breadboard to understand how the different components interact with one another. I first plugged red and black wires across the breadboard to connect both the sides of the breadboard to each other. Then I plugged the positive and negative terminals of the breadboard to the 5V pin and ground on the Arduino respectively. I then plugged in the force-sensing resistor and connected its positive terminal to the positive terminal of the breadboard, and connected the negative terminal to a resistor’s positive terminal. The resistor’s positive terminal was connected to pin A0 and the resistor’s negative terminal was connected to the ground. The two LEDs are then punched into the breadboard with their positive terminals connected to a 220kOhm resistor which is then connected to pin 9 and pin 10 respectively. The negative terminals of the LEDs were connected to the ground.
I soldered both terminals of the LED to make some distance for Batman’s body. The force sensing resistor was punched into the female brackets that were then soldered to red and black wires for the breadboard.
I then coded on the Arduino application, to connect the force sensing resistors to the two LEDs. For one of the LED, if the sensorValue was greater than 200, it lights up. However, if the sensorValue is greater than 450, but the LEDs light up.
I cut up some black felt fabric into the shape of Batman and cut two eyes for the two LED’s to fit in. The force sensing resistor is placed at the back of Batman’s body so that as you hold the Batman, the LED light up.


